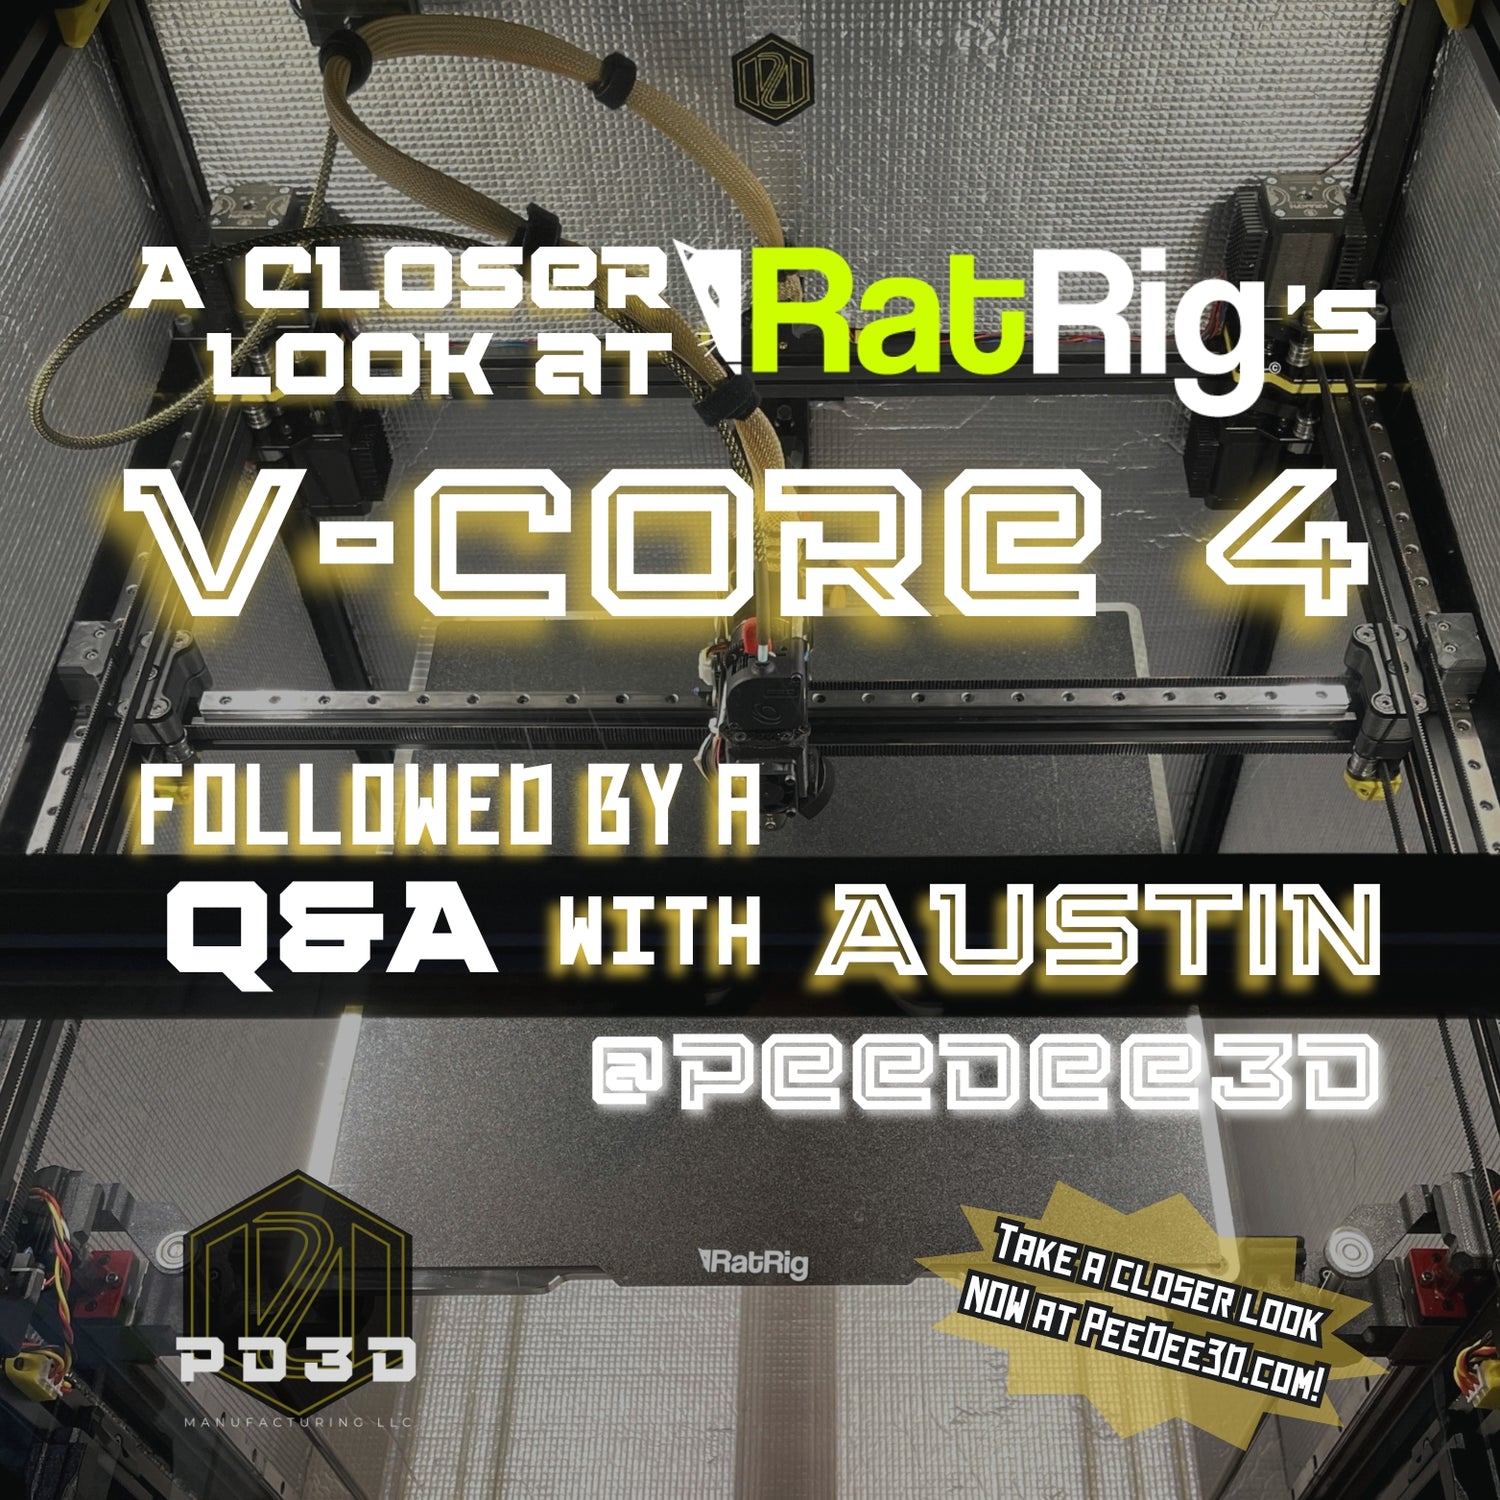
With the release of the Linear Rail Gantry Kit, we quickly realized the need to expand our printer capacities. Enter the new RatRig V-Core 4 400mm. Our newest addition to our 3D printer family.

The V-Core 4 is a DIY printer that will help any 3D printer user push the limit to what they can do. As the most recent installation in the V-Core series, this design allows for a linear upgradable path from Standard to Hybrid and finally to IDEX (just recently released and the feature we are most excited about).
The Standard kit has everything that comes with the standard printer. It is the Saiyan of the V-Core 4 and has everything you need for a reliable printer: stability, speed, strength (well maybe more like you need some strength to move it). The Standard runs with the classic single toolhead and CoreXY Kinematics.
The Hybrid is the next step in the evolution of the V-Core 4. While maintaining the features of the Standard pack, the Super Saiyan level allows for 2 more Y-axis motors. And those extra motors make that printer go brrrrrr.
The final upgrade to the V-Core 4 is the IDEX, the Super Saiyan Fusion. IDEX is the acronym for Independent Dual Extruder and utilizes two toolheads in addition to the hybrid CoreXY Kinematics. RatRig touts IDEX as the “fastest, most efficient and easy to use multi-material solution."
We are the most excited about the IDEX feature. It will open up the doors to allow us to push the limits of our 3D printing capabilities. This is different from MMU (Multi Material Unit) printers, which have separate docking stations for each toolhead and are slow AF. The IDEX toolheads stay out at the ready, allowing for a quicker transition between printing directives. There are 3 different printing experiences available with the IDEX: Dual Wielding, printing double the items at the same time, Mirror Printing, and Dual Material - load up a different color/material (although it is more likely more successful with another color, but same material.)
While we don't have the IDEX yet as it was just released, we do have some thoughts about the RatRig V-Core 4. Read on for a Q&A with Austin at PeeDee3D.
Q&A with PeeDee3D Owner, Austin

Q: How many days did it take you to build the RatRig V-Core 4?
Austin: With my friend’s help, we built the frame over the course of two days… but it was a cumulative of about 16 hours. Adding the electronics took about another 4 hours. Tuning has been happening for a month and is ongoing.


Q: What modifications did you choose to go with for your V-Core 4?
A: Kraken Motors 55 Volt, GT3 belts, Chube, Nanoflow Nozzle, LGX Lite Pro, 25T pulleys on the Y-axis, Luke's Lab Camera, 24 Volt Cobb LED Lights, PCCF printer printed parts, 10mm thick insulation, Youmetong Preloaded linear rails (soon), and custom side panels from Mandela RoseWorks.

Q: Why did you choose these upgrades?
A: I’ll talk about a couple specifically. I chose the Chube - an industrial grade hotend - for the higher flow. I can also see this hotend growing with my printer. I also picked the LGX Lite Pro, which is the newest Bondtech extruder. I like the big gears and it has proven to be very powerful so far. I have no complaints about it except it should be included as the default for the V-Core 4 kit.

Q: What do you like better about the build process of the V-Core 4 to the 3?
A: The frame design improved. With the V-Core 4, building the frame took ¼ less of the time to square than the V-Core 3.
Q: What advice do you have for someone going through the build process? What about a beginner?
A: My advice is to take your time. Make sure everything is square. Don’t be scared to go for it. And safety first. For beginners, do the stock build first. Don’t add anything crazy if you don’t know what you’re doing. Go slow and take the time to learn the mechanics.

Q: Between the V-Core 3 and V-Core 4, which do you like better and why?
A: I like the V-Core 4 better because it’s faster and it isn’t as awkward to add panels due to a much simpler outer frame design. I also like the aesthetics more on the V-Core 4, such as the accent lighting.

Q: What kind of improvements/mods do you see you might make in the future?
A: I want to swap the X-axis rails to the Z2 preload rails, and then Z1 Preload rails for the Y-axis. Eventually, I would also like the Toro Titanium Tube, 8mm motor shaft Krakens, upgrade to the IDEX, and maybe 12mm belts.

Q: What potential speeds do you see the RatRig reaching?
A: I want to see my V-Core 4 to get to speeds of 200k @ 1m/s, but as of right now… my current top speed runs at 120K @ 900mm/s or 100k @ 1m/s.
Q: What feedback do you have for RatRig?
A: Give me free printers, so I can make them better. I'm joking, obviously, but I’d love to help RatRig design printers.
Q: What would you add to the kit that you didn't see already?
A: Panels for the printers and the option for a chamber filter and a camera from RatRig.
Q: And finally, I just like to ask... Out of all the printers that you own, which one do you like the best and why?
A: The V-Core 4 because it feels cleaner and more complete. Also brrrrrrr.
Thanks for reading!
PeeDee3D

